Welcome to another month with the Global Monthly Video Hop, these are amazing Demonstrators from around the world taking part each month to inspire your creativity.
June's theme is " Techniques ", and I know we will have so much inspiration for you.
I chose to use the "Ink Smooshing Technique " which worked so beautifully with the Sea Turtle stamp set, what is really great is that each time you use this technique it will create a different look every time.
This was my sample card where I used more water, the colours are a little more subdued because I added more water to the plastic.
This card created on my video, I didn't add quite so much water on this, and the colours are more vibrant.
I love that this technique can look so differently every time it's created. I also love that it creates the nicest backgrounds.
I am so excited to share with you my card for this week's Tracy's Sunday Challenge. The theme this week is " Black & White ". I'm excited to see what you create.
I created this Birthday card for my Brother In Law's birthday ( my hubbies twin ), I teamed up the Rock & Roll DSP, Hooray For Surprises stamp set with a few retired products the Hexagon punch and the Large Numbers dies.
I used the punch to create a window for my card, it is such a simple fun fold.
I hope that you have enjoyed today's card, and I have inspired you to create a card with the Black & White theme I would love for you to share your card in the challenge post over on my business FB page.
If you would like to create this project yourself, you can purchase any supplies needed in my Online Store, I would love to spoil you as a customer and friend.
If you haven't signed up for my emails you can do so on the side of this blog.
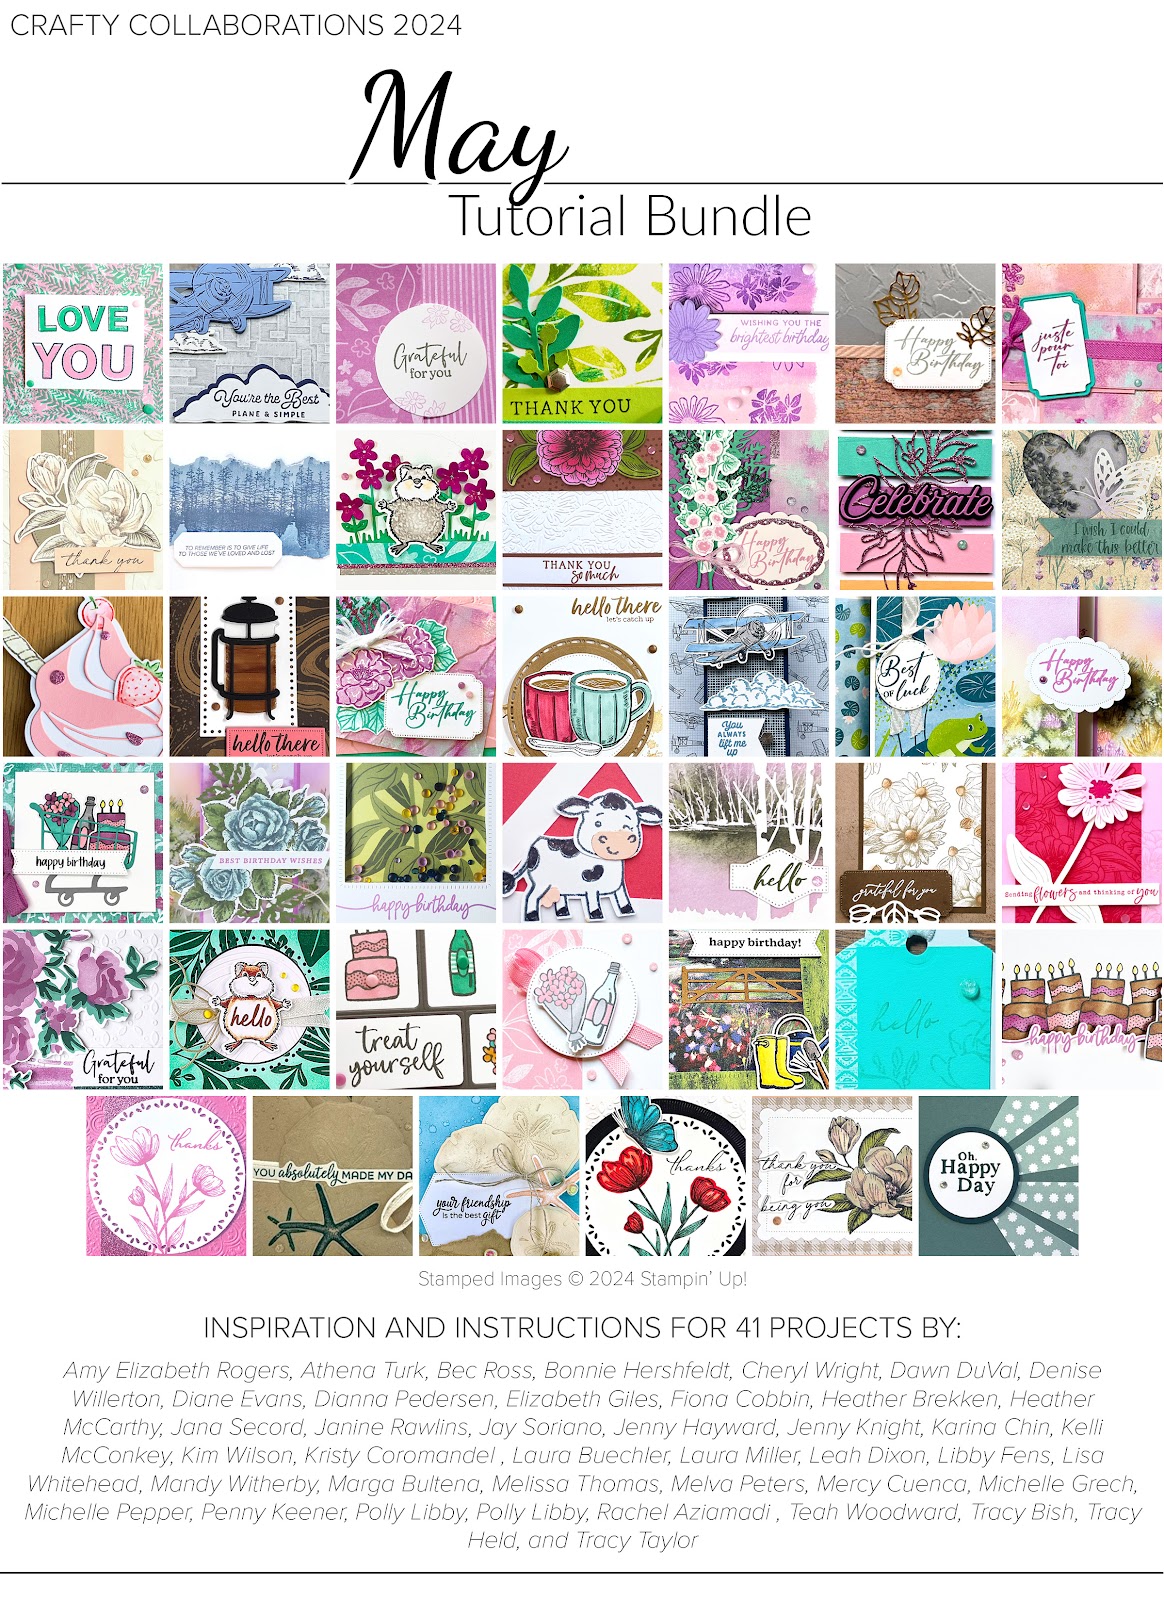
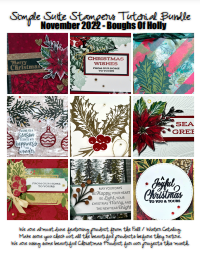
Today's project on my live is this month's Bundle Tutorial project for November. I am using the Merriest Trees Bundle for my bright & funky Christmas card.
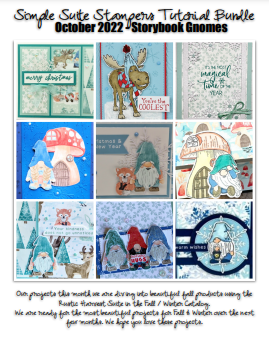
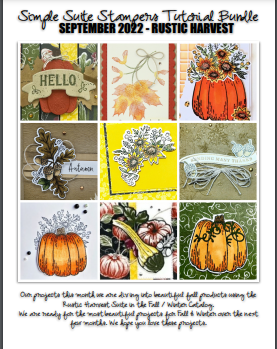
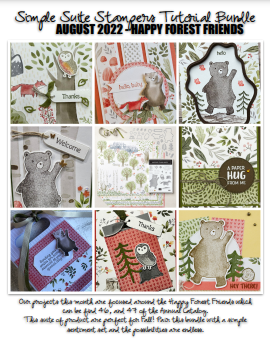
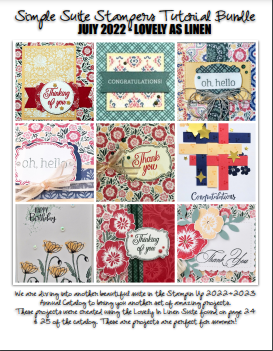
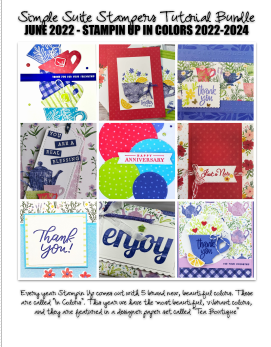
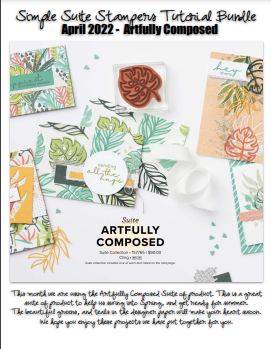
This tutorial is just one of 52 tutorials in this month's bundle. There really is so much inspiration there, and you can get it all for FREE by shopping in my Online Store this month using Host Code YTHYWY6U.
I will also being sending out this PROJECT Tutorial to my email subscribers Friday. If you haven't signed up yet, please do so you don't miss out!
There are THREE ways to receive this Amazing 52 Project Tutorial Bundle:
1. Purchase $75 in product in my Online Store using Host Code YTHYWY6U, and receive this bundle + Handmade card as my Free Gift.
2. Purchase this Tutorial for $28 AUD, HERE and receive this as an instant download. You can purchase this anywhere in the world, you don't have to be in Australia.
3. Purchase the Starter Kit and join my Crafty Family "The Inky Stampers" where you will receive all Tutorial Bundles for FREE each month.
I hope that you have enjoyed today's project, and enjoyed a little inspiration from this cute card.
If you would like to create this project yourself, you can purchase any of these products used in my Online Store, I would love to spoil you as a customer and friend.
If you haven't signed up for my emails you can do so on the side of this blog.
Thank you for joining us for our Stampin' Up!® Demonstrator Training Program Monthly Blog Hop! We are so happy that you could join us today for this blog hop for ideas and creative inspiration. We are a group of Stampin' Up!® Demonstrators from around the world that are taking part in training that is helping us to build a successful Stampin' Up!® business and reach some goals we have set. We really appreciate your support.
You may be starting here or have come from another blog - either way you can find the link list at the bottom of this post so that you can see every blog post today. Today's project is using a New stamp Set from the Sale A Bration Catalogue, "In The Country" it can be found on page 12, and can be earned as a FREE Gift with a qualifying order.
The In The Country stamp set is perfect to use for the spotlight technique, but really any stamp could be used, where a die cut from the image is coloured to highlight.
I have chosen to water colour by spotlight image, this stamp set has been designed for watercoloring, whether using pencils or using your ink. Or try colouring with your Stampin Blends.
In The Country is an image stamp set, I have also used the Biggest Wish stamp set for the Thanks, it also breaks up the back ground of the card, and creates a little extra interest.
Thanks so much for stopping by today!
As mentioned at the top, this is a blog hop so make sure you 'hop' around to all the amazing projects on this hop! Click on the links below to visit them.
Do you need any of the products used on todays project? See the products above to go shopping. Please use the current host code on the top right of my blog so I can send you your free gifts for shopping with me.
And welcome to another month with the Global Monthly Video Hop, there are amazing Demonstrators from around the world taking part each month to inspire your creativity.
February's theme is a " Favourite Suite ", and I am excited to see what everyone chooses, because there are so many great suites to choose from.
If you are new here, I would love if you would sign up for my emails, where I will keep you up to date in the Stampin Up World, as well as inspire your creativity with a free exclusive tutorial every month.
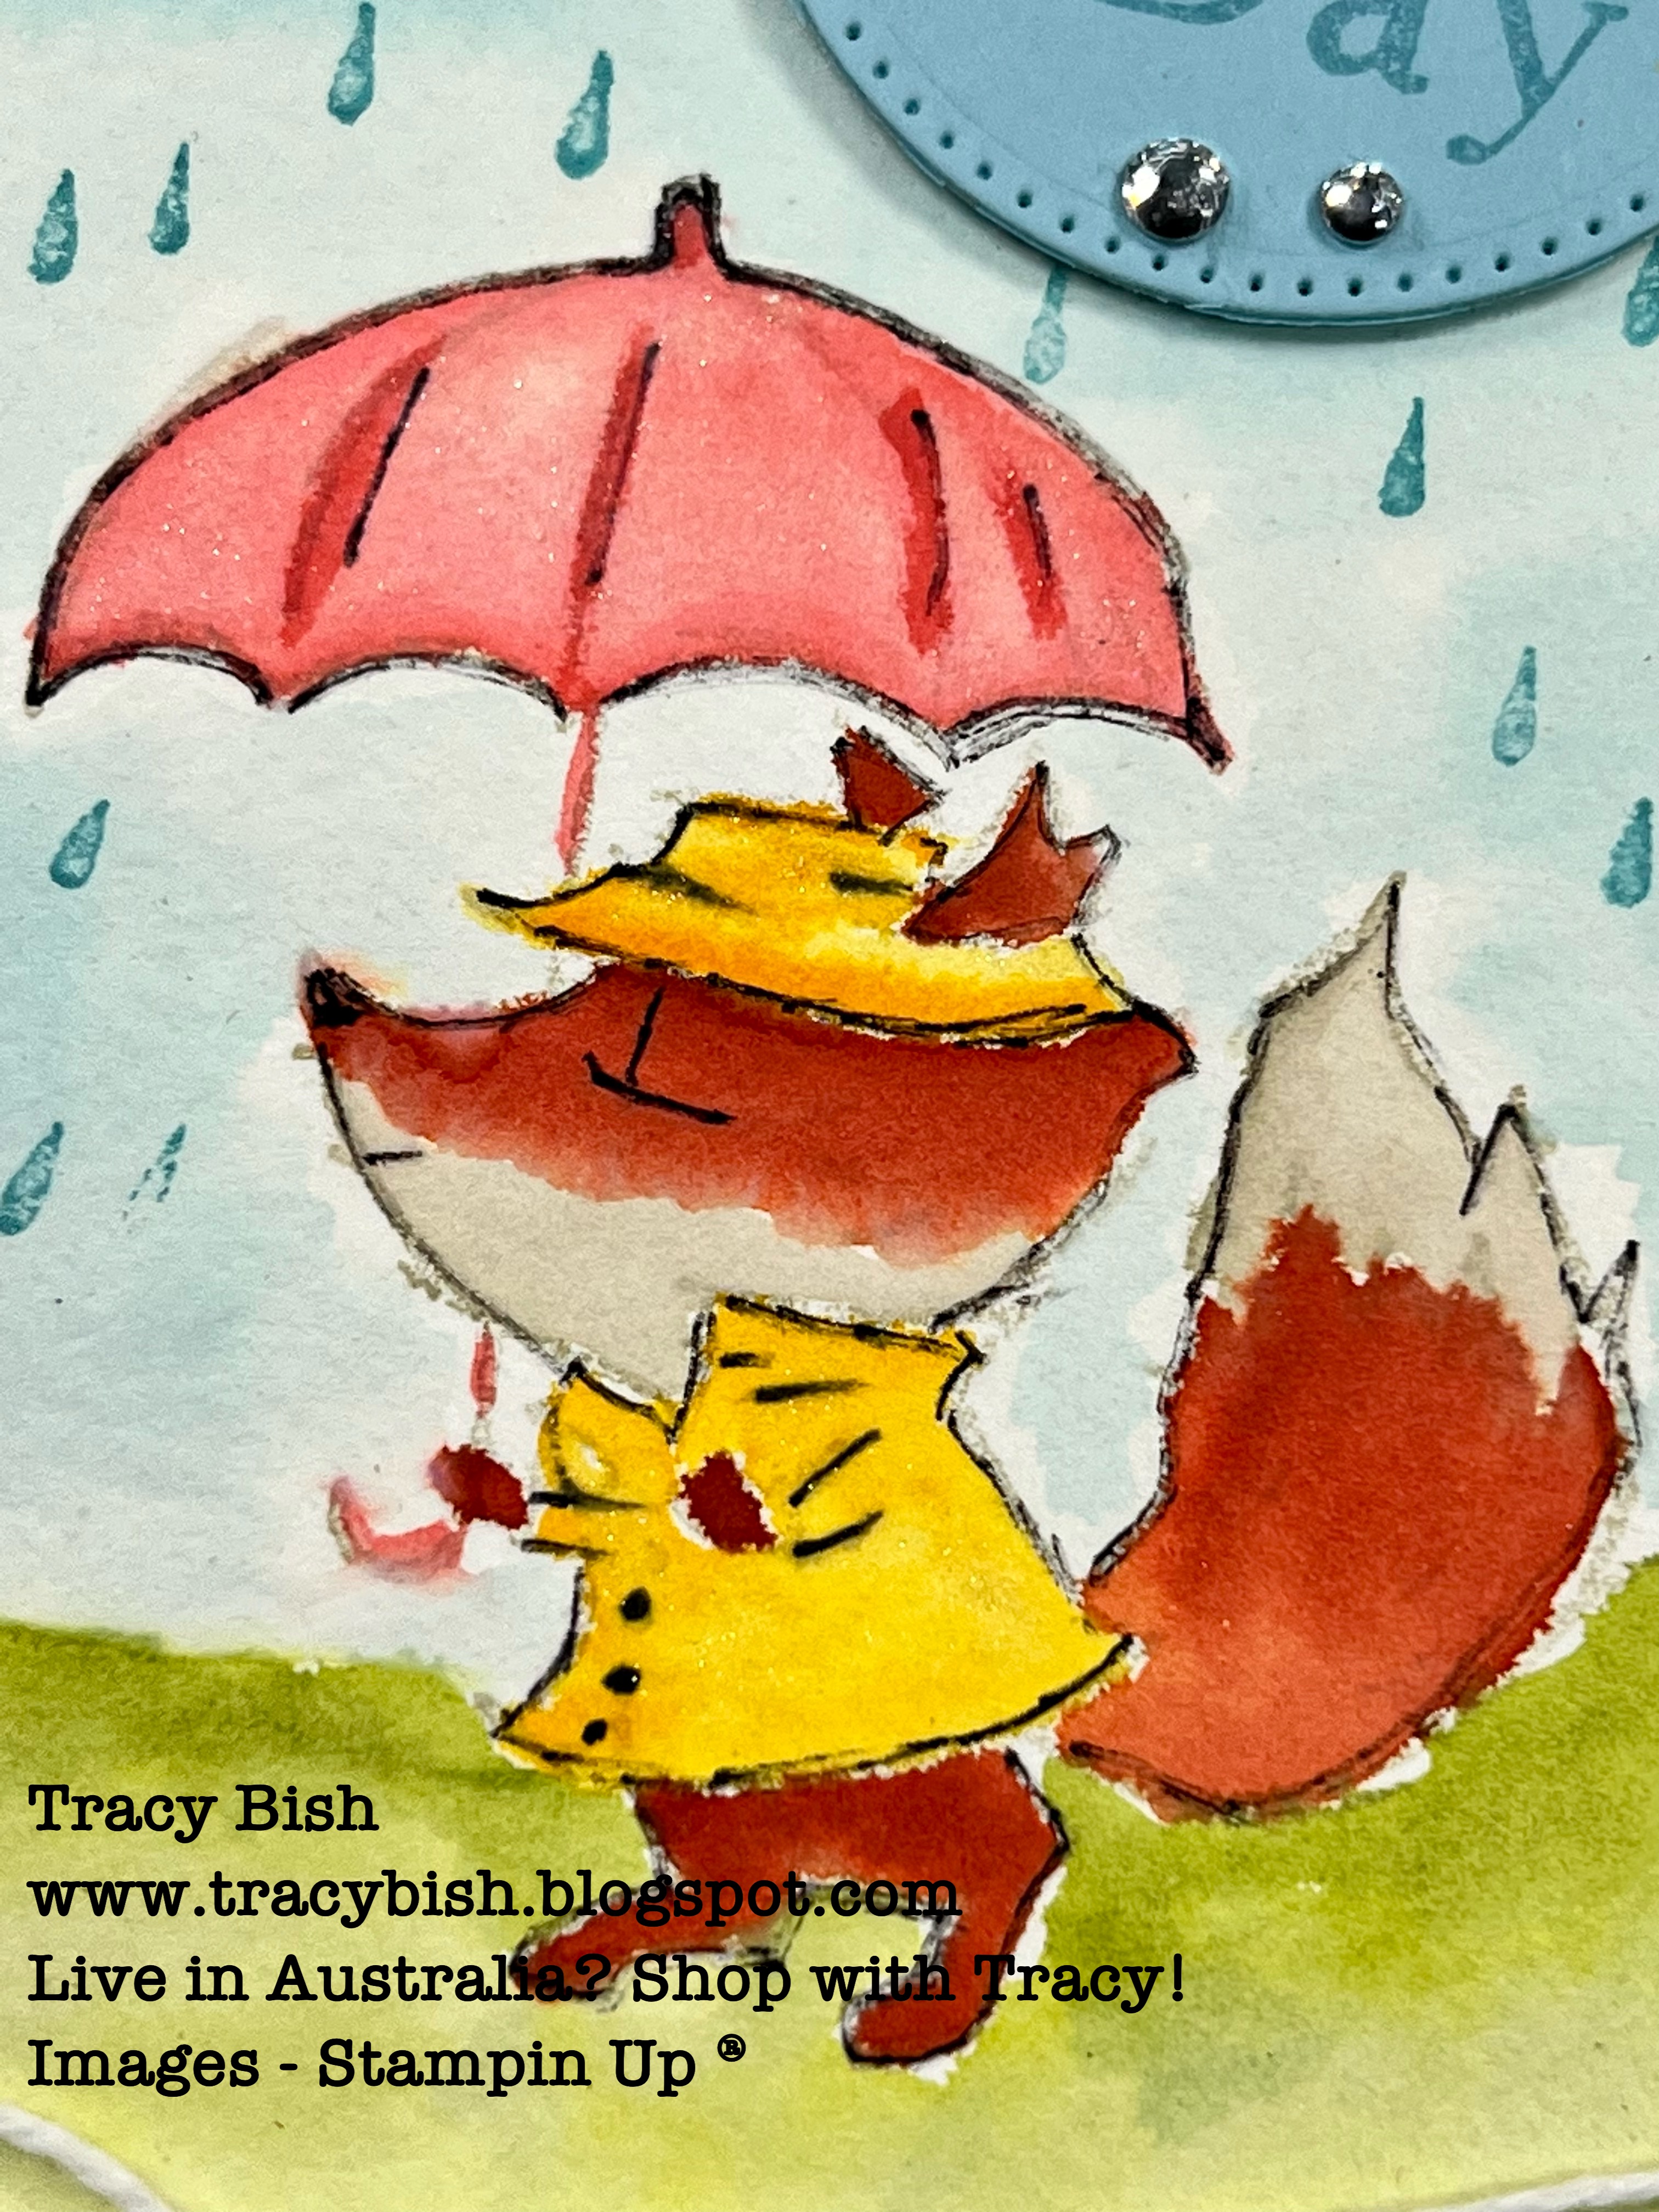
I have chosen the Rain Or Shine Suite which can be found on pages 50 - 51 of the Mini Catalogue. This suite has the cutest images in both the stamp set and and the Specialty Designer Series Paper pack.
This bundle makes it so easy to create a scene card, and the added bonus of the UV coating on the DSP, really does look Amazing, especially with the raindrops.
This is my first attempt at No Line Watercolouring, and I am so happy how it all turned out. Stampin first with a light ink, I have used Sahara Sand ( second generation) and then used my watercolour painters to colour in the fox.
This cute fox sure does pop when you outline him with the Stampin Write Basic Black Marker!
Thanks so much for popping by my blog today, to continue the blog, please see the links to the other video's below.
If you haven't signed up for my emails yet, you can do this by clicking the link at the top of the page.
Welcome to another Tracy's Sunday Challenge, Masking is a fun technique, that can create so many different looks for a card. Please be sure to share your creation with us over on Facebook, and take a look at what everyone is creating there too.
I have created a few cards for this challenge, using the Masking Paper from the Annual Catalogue, there are many ways to mask your project, but I highly recommend this adhesive sheets as it will be a game changer.
I hope that you have enjoyed today's projects and maybe you have been inspired to create a card using the masking technique.
If you need any supplies I have used today, you can purchase them in my Online Store, I would love to earn your business, I also have great incentives for my customers that change monthly, and I would love the chance to spoil you.
If you haven't signed up for my emails you can do so on the side of this blog.
I have such a lovely card that is my customer appreciation card for October. It's using a fun technique colouring Embossing images from EmbossingFolders. All customers who place an order in my Online Store this month will receive this card in the mail as a Thank You Gift, as well as a Bundle Tutorial via email.
You can try this technique using any of your embossing folders you have on hand, its a great way to add a pop of colour and dimension to a card.
This card I have used the "Leaf Fall 3D" folder from the Stampin Up Mini Catalogue, you can find this on page 53. The 3D embossing folders work the best, as they create such striking embossed images, but will work with any too.
I hope I have you thinking about what folders you have, and might like to use for your next card!
I hope that you have enjoyed today's project, and enjoyed a little inspiration.
If you haven't signed up for my emails you can do so on the side of this blog.
Have a Wonderful Day!
Tracy x
MEASUREMENTS:
Basic White Thick card - 4 1/8 x 11 3/4" + 3 7/8 x 5 1/2" + 1 7/8 x 1 7/8"
Ink Smooshing is a great ink technique, it can be super messy but it can look amazing, especially on the Shimmery White card.
I love how I created the backdrop to this delicate die cut, the colours and shimmer really do come forward.
I hope that you have enjoyed today's project, if you haven't signed up for my emails you can do so on the side of this blog.
If you would like to join in this weeks challenge, create your project, and put a photo of it over on my Facebook page, the challenge will be pinned to the top of the page. I can't wait to see what you create.
Have a Wonderful Day!
Tracy x
MEASUREMENTS:
Starry Sky card 5 7/8 x 8 1/4".
Shimmery White card 4 x 5 1/2" + 3 1/4 x 1 1/2".
Basic White card 4 1/8 x 5 7/16" + 3 7/8 x 5 1/2".
Hello and Welcome, Today's video I have a technique for you using your Embossing Folders, I will be showing you how to heat emboss with your folders, the outcome is amazing! Because I am focusing of Halloween this month, I have chosen the Cobwebs 3D Embossing Folder, which can be found on page 53 of the Stampin Up Mini Catalogue.
Let's look at what you can create!
This technique will offer two looks, as you have a positive and negative to the folders, I love both, what is your favourite?
I hope your mind is racing on what you could create, its a great technique with so many options, let me know what embossing folder you would use to create a card.
Thanks so much for visiting today, I hope you will give this technique a try, I will be back again soon with another video, I hope you will join me then.